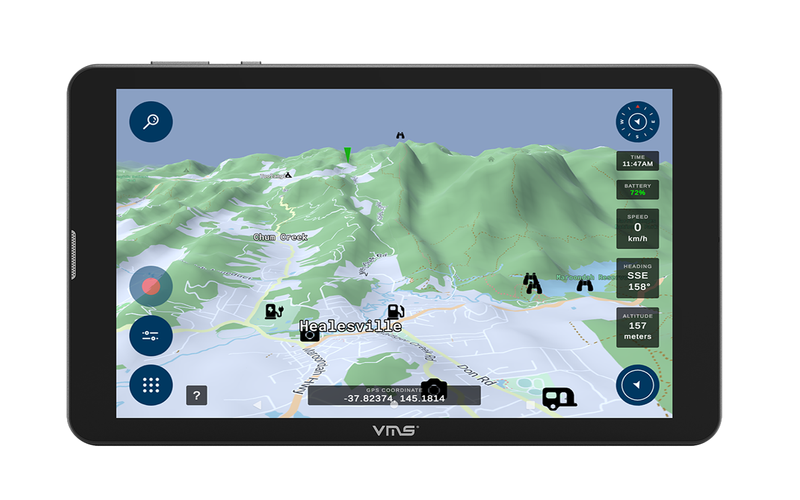
APRIL 2023 Update (3DX)
3DX

APRIL 2023 Update (3DX)

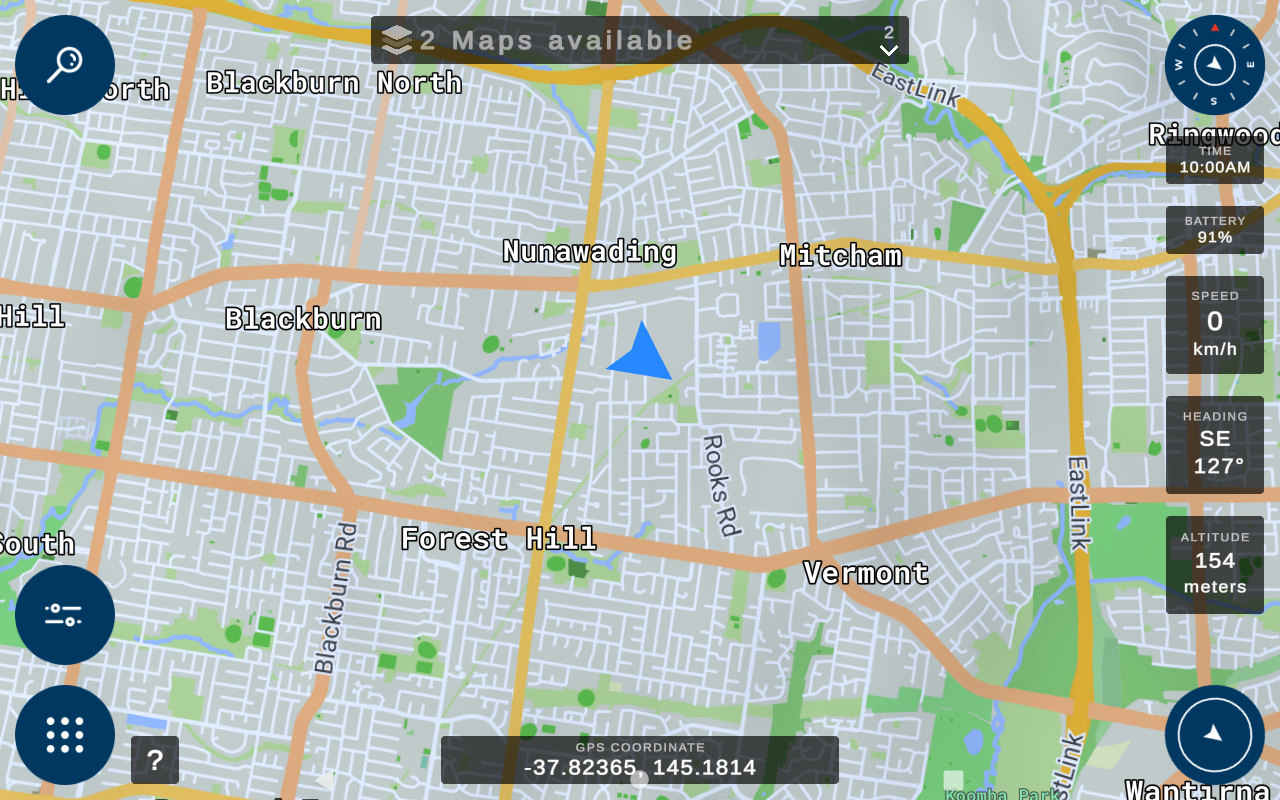
We at VMS are always striving to provide the best experience to our customers. We are aware that with our last December 2022 update few of our customers had have some issues, but we have fixed all those issues and have added some new features as well. Before proceeding further please make sure to back up your data (tracklogs, waypoints and routes) Backup Instructions 1. Go to waypoints in 3D maps menu.  2. Press the downward arrow button on left side of the screen 3. Select Export GPX option 4. Select all the routes, tracklogs and waypoints you would like to be back up. 5. You will see a confirmation that the backup is complete. 6. Connect the unit to your PC or laptop and go to downloads folder in internal storage. 7. Copy and save the file on your PC or laptop and then proceed to downloading and updating your device. Download instructions Please make sure you are on our December 2022 update and have working 3D maps  and already backed up your data. 1. Open 3D maps application 2. Press menu button on bottom left of the map screen 3. Go to settings menu 4. Select updates on from the list on left side of the screen 5. Press Check for Updates button 6. New app update will show up (V1.104), please press start downloading and then follow the prompts to install the application. Features Dark Mode New Dark Mode colour scheme is live now, this will help with the easier visibility and differentiation between different roads, streets, highways etc and basic natural feature colours have been fixed too. Australian GPS voice An Australian voice can be used now for the GPS voice commands. Steps to change the voice are as follows: 1. Go to settings from home screen2. Search and select Accessibility3. Go to Text-to-speech output4. Select settings icon beside preferred engine ( Google text to speech engine)5. Go to install voice data6. Go to English (Australia)7. Download it if it is not already downloaded7. Select 'Voice IV'8. Go back to Text-to-Speech output9. Select Language as English (Australia) POI Legend Now you can access POI legend screen from either quick settings or from settings menu in 3D maps application so its easier for our user the understand the meaning of each POI symbols. Bug fixes and usability optimization We are aware that DEC 2022 update caused errors on few units like - Give red "undefined" errors - Freeze on map screen These issues have been addressed and fixed in this update.   Please feel free to contact us by emailing us at support@vms4x4.com if you have any further questions or concerns.    
December 2022 3DX Update
3DX

December 2022 3DX Update

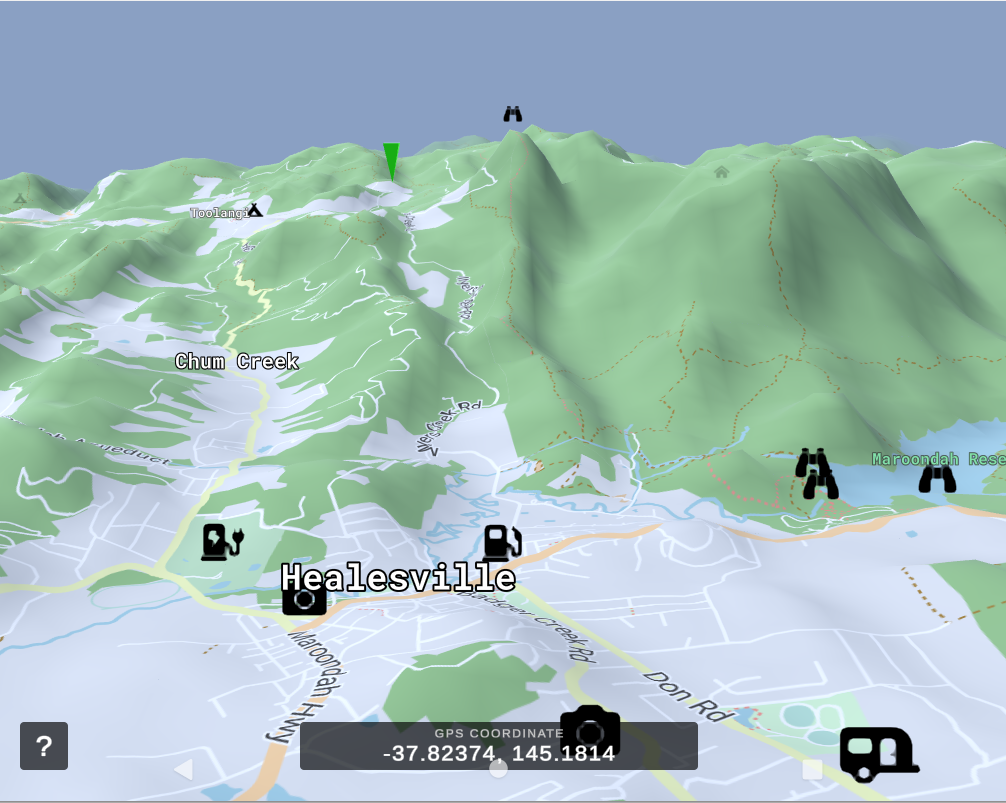
WARNING: A small number of users may experience an issue where they are unable to launch the 3DX mapping app AFTER the update. Click here if you are experiencing issues after the update  Our latest December update for the 3DX has been released! This time our focus was on quality of life updates to make your user experience better and smoother. In saying that, this updates involves some new features and of course, bug fixes and app optimisations.  You might have already noticed a notification on your unit if it is connected to the internet, but if not, let's make sure you have access to the new update by helping you to download and update your 3DX. New Features - Click here How to Backup & Download - Click Here Highly recommended: It is essential to backup your tracklogs, routes and waypoints before updating your device so you don't lose them. New Features Routing engine update We have updated our routing engine which has decreased the time taken to calculate the routes exponentially. Destination from Melbourne CBD Time taken for route calculation  Before  After Sydney 1 min 13 -15 sec Brisbane 1 min 30 sec 18 -20 sec Adelaide 1 min 20 sec 17 - 19 sec   This also fixes the issue of unit try to get you off the freeway just to get you back on it. 2D/3D Switch Ability to switch between 2D top view and 3D Vector map view. It can be done in two ways: 1. Holding down the compass button on top right corner of the map screen 2. Using toggle buttons in Quick Settings Menu. This is to allow the ease of getting an overview of the track and then get back enjoying the 3D feature of the unit. 3D Vector view   2D Top view  Snap to Road Network option While creating a new route, you can either select that temporary route is shown through the road network or you can toggle that option off and create a route with straight lines across the map between points like before. Quick Settings Menu update Dark mode, 3D terrain, resetting height exaggeration toggle buttons as a short cut have been added to Quick settings menu. In-app updates Now we will be able to update the app within the 3D maps app independent of releasing system softwires which means shorter intervals for you to receive new features and bug fixes. Gallery bug fix After clicking a new picture by the camera, image would not appear or won't be accessible in the gallery - this has been fixed now. This update also does app optimization updates for smoother in-app experience. Stay tuned for more!! How to backup & download Backup 1. Go to waypoints in 3D maps menu.   2. Press the downward arrow button on left side of the screen 3. Select Export GPX option 4. Select all the routes, tracklogs and waypoints you would like to be back up. 5. You will see a confirmation that the backup is complete. 6. Connect the unit to your PC or laptop and go to downloads folder in internal storage.   7. Copy and save the file on your PC or laptop and then proceed to downloading and updating your device. Download NOTE: Your device will need to be connected to an active internet connection and the process might take some time depending on your internet connection speed. 1. Once the update is made live from our end, you will receive a notification (provided you are connected to internet). (You can head to step 5) 2. In case, you are reading this and don't have a notification yet, please connect your device to internet and go to System settings from the main screen. 3. Scroll down and select About Tablet. 4. Select Wireless Update and then press Check for Update button on the bottom. 5. If an update is available, press on the Download button on the bottom. 6. Once the update download is finished, press Install now to install the update and device will handle the rest. Once the update is finished, please connect the unit to an active internet connection. Then open the 3D maps application.    Issues after the update? Follow the procedure outlined below to restore normal operation on your device.If you are unsure of any step, you may contact our office via phone and we can talk you through it at 03 9017 5589  from 9.00 to 4.30pm AEDST.  Steps for doing a factory resetWARNING! Recommended only for this specific instance. Should not be used in normal situations. Factory reset will cause device to lose all personal data and may require re-activation of paid raster maps via phone. 1. Turn on the device2. Go to the settings menu3. In the search bar, type reset4. Select reset options5. Select Erase all data (factory reset)6. Select Delete all DataOnce this has completed your unit will return to the main menu screen (red icons) Please wait around 10 minutes before opening the 3D maps program, new files are being installed. Connect your unit to your home WiFi and launch the 3D Maps program. The program should launch this time, and after the map screen is displayed a dialog box should appear saying there are new data updates, confirm on this and 4 files will be downloaded, after these have completed your unit will be up to date.   If you see this image, the 3D Maps app was started too soon after the update. Please 'swipe up' from the bottom of the screen and tap on Clear All to close the 3D Maps app and wait 10 minutes before launching the app again. If you see this error message, please 'swipe up' from the bottom of the screen and tap on Clear All to close the 3D Maps app and then proceed to launch the app again.   How to restart 3D Maps application? If you are having an issues updating your device, please feel free to contact us at support@vms4x4.com or ring us at 03 9017 5589 during business hours.      
New 3D maps daytime colour scheme
3DX

New Day time map colour scheme

We have just released a new daytime map colour scheme for our 3D maps to make the overall feel more vibrant and crisp to allow for a better navigation experience.
Wifi Reversing Camera
3DX

3DX Wireless Reversing Camera (WiFi): All you need to know

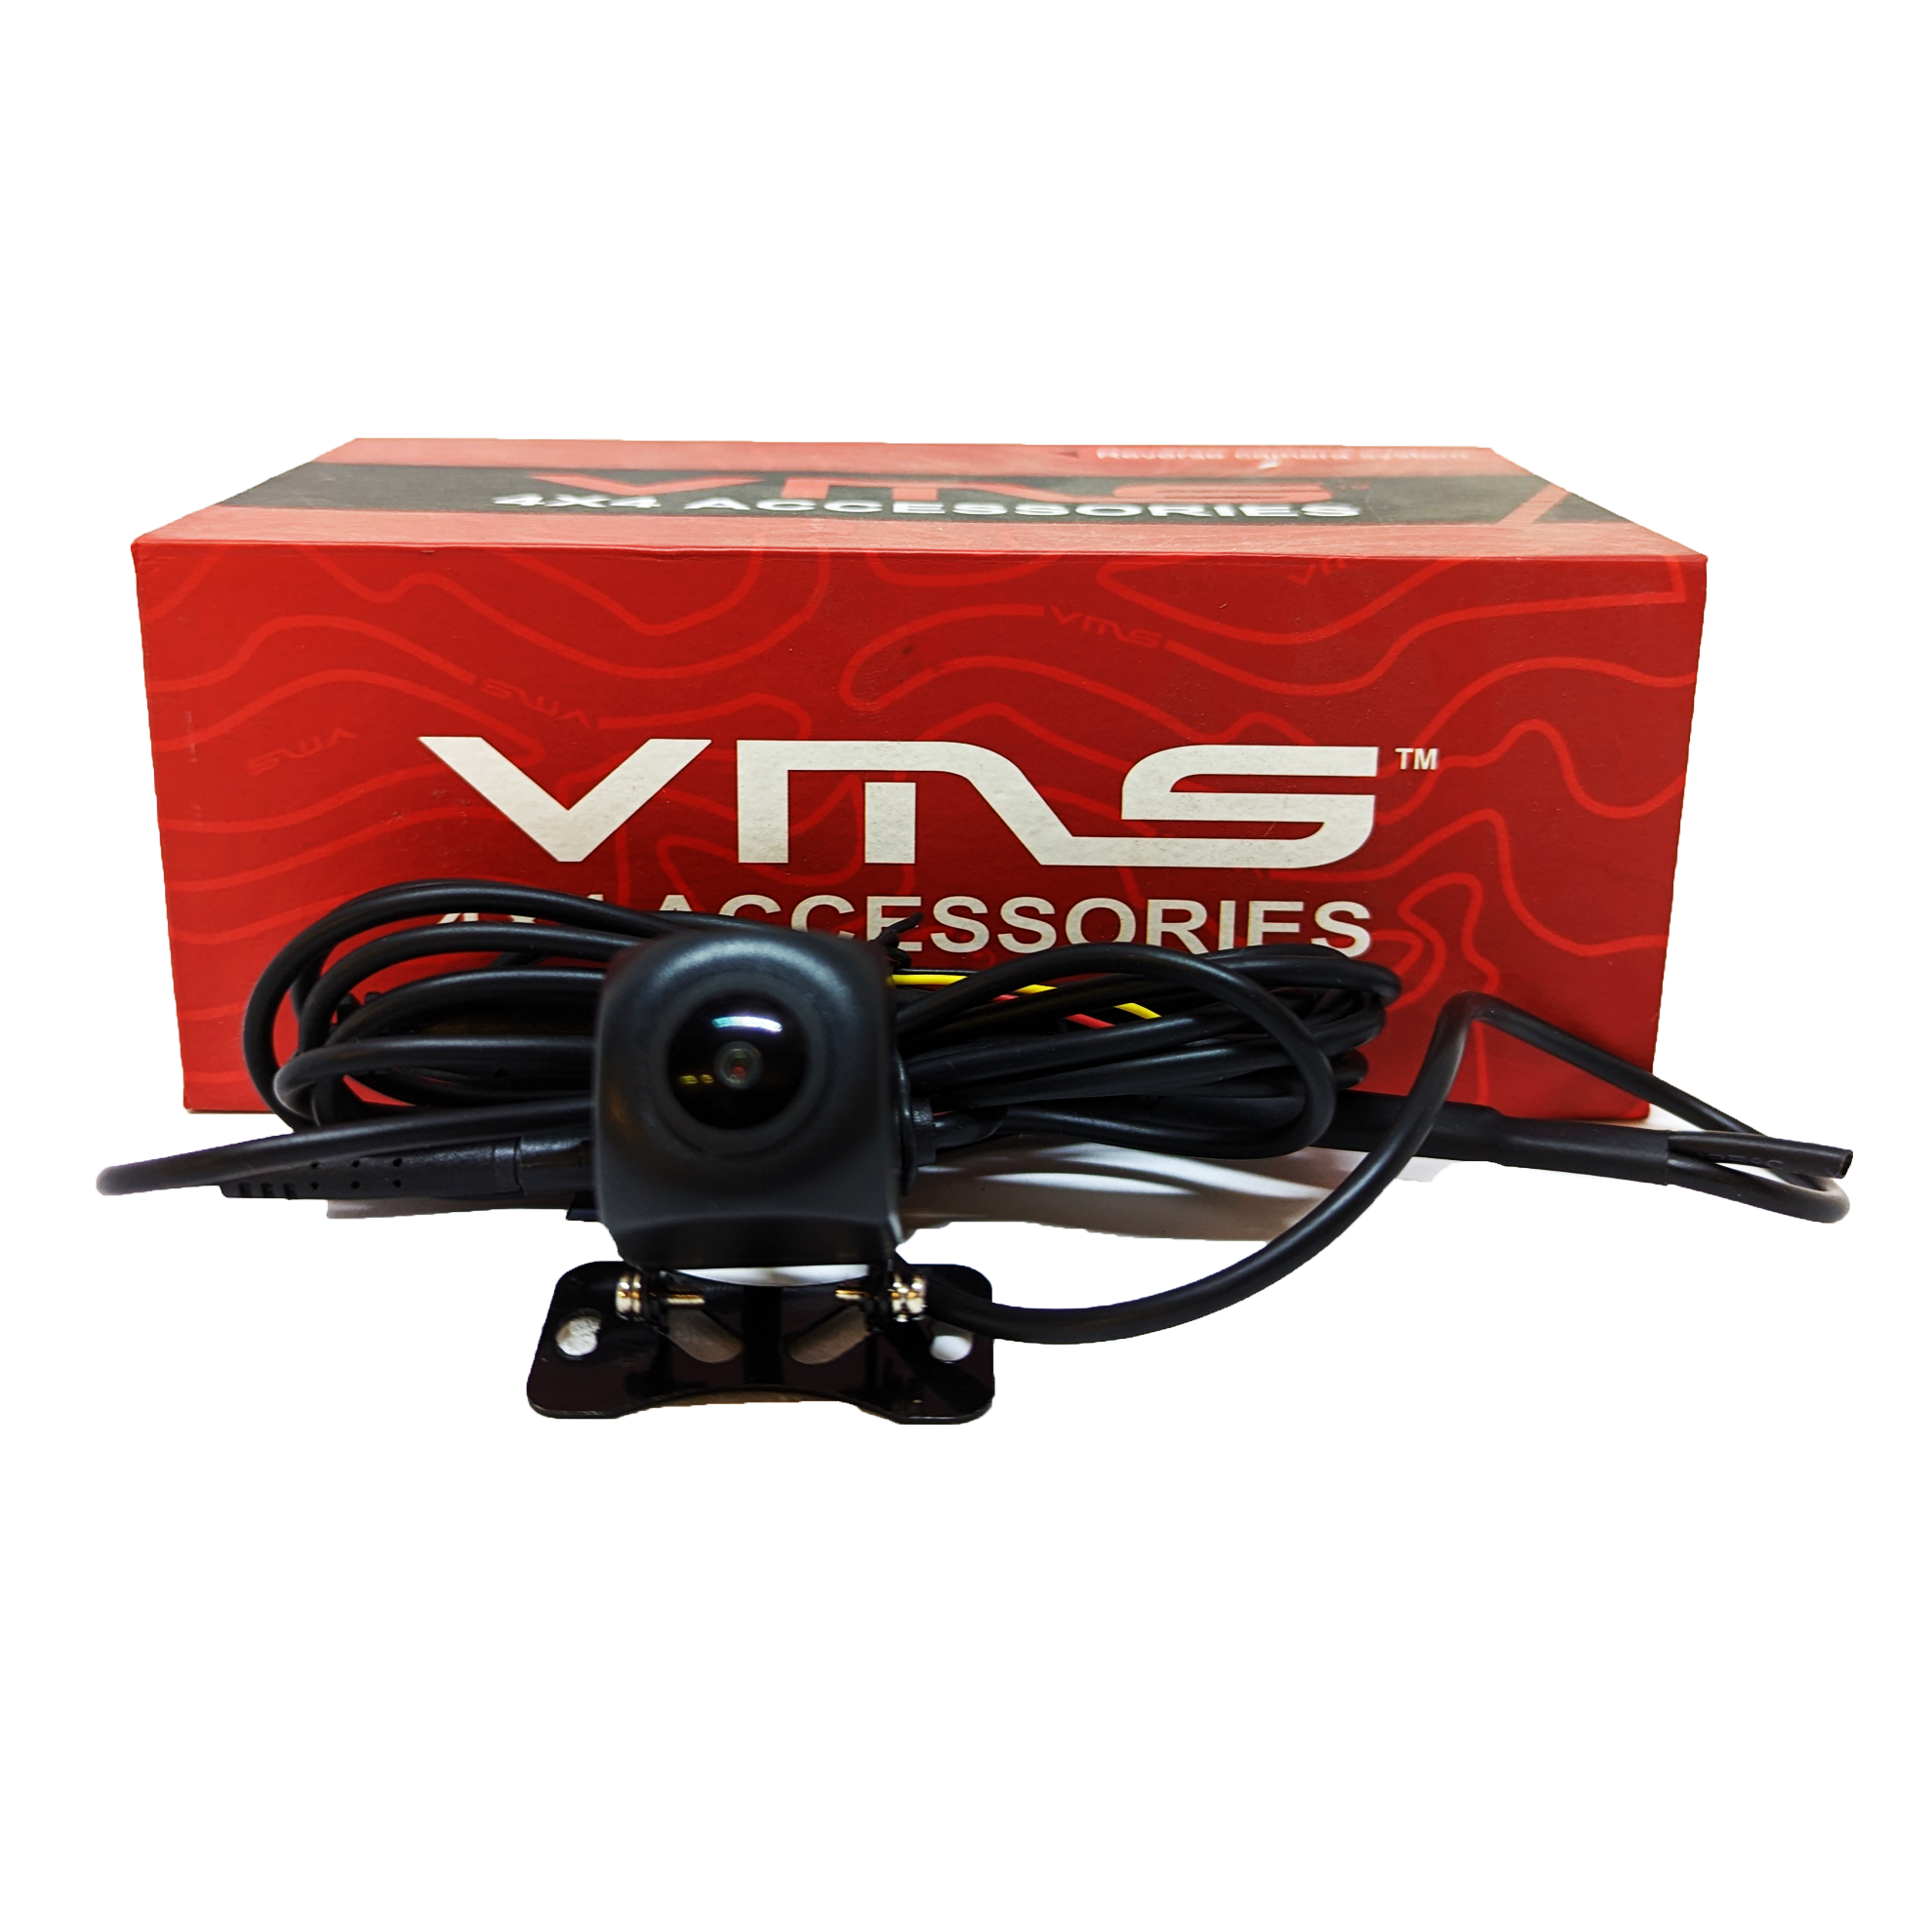
This camera is designed to work with our flagship portable offroad GPS unit - 3DX. This product uses WiFi technology to establish a connection with the 3DX unit, and show you the view from the camera in real time. This helps the user to be aware of their surroundings, such as walls, other vehicles and obstructions, uneven terrain etc while reversing their vehicle or even standing still in one place. Installation Instructions  Recommended wire connection are as follows: Power Wire (Red) : Accessory or battery power Trigger Wire (Yellow) : Reversing light Ground wire (Black) : Needs to be grounded Please note: Any variations in wiring connections would lead to camera not working as smoothly. VMS recommends that this device is installed professionally by a qualified auto-electrician. VMS is not liable for any damage caused as a result of the installation. Camera mounting considerations: Test the camera positioning before permanently mounting it on the surface. The higher the camera is positioned, the better the viewing angle. Initial Set-up Update your unit to the latest software (please note if you are on the latest version then you will have a reversing camera icon on your home screen) Once the camera is installed in you car, power up your car so that WiFi camera gets power Go to Settings > Network & Internet > WiFi  Turn on your WiFi , if it is not on Select  WiFi named "W-CarXXXXXXX" (X represents random numbers) Enter password 12345678 Once connected, try putting your car in reverse gear if your camera's trigger wire is connected to reverse light, alternatively press on reversing camera icon on the home screen. Usage Instructions WiFi camera's power wire is connected to the accessory power (it's always on) and trigger wire connected to revering light (Recommended set-up). Turn on your vehicle to power up the WiFi camera Shift the vehicle in reverse gear to trigger the camera application  The camera view will automatically load up on the screen (Provided the screen was on and initial set-up is done) Alternatively, if you want to access the camera's view without shifting the vehicle in reverse gear, press on WiFi cam icon on the main menu In case, your camera's power wire is not connected as recommended and both power and trigger wires (red and yellow) are connected to reverse light Turn on your vehicle and shift it in reverse gear to power up the WiFi camera Go to WiFi settings and select W-car WiFi Immediately the camera feed would show up on your screen Once, you shift your car in drive or in any other gear, press the home button (Circle in the bottom middle of the screen) to get out of the camera feed screen to get back to start navigation.   Recommendations / Points to be noted To optimise the WiFi connection between 3DX and the WiFi camera, it is recommended that the 3DX WiFi connection is set up to only connect to the camera's WiFi connection. Post installation, it is essential to note that the device uses WiFi technology for its connection and connection strength may vary depending on the distance and obstructions between the 3DX unit and the WiFi camera. This device is designed specifically for vehicle use and performance with camper trailers/caravans may vary VMS recommends that this device is installed professionally by a qualified auto-electrician. VMS is not liable for any damage caused as a result of the installation.
June 2022 3DX Update
3DX

June 2022 3DX Update

It is always exciting to get an update for your device and testing out the new features.  Here's a list of new features and fixes we have introduced in this update.
3D Vector Maps: An overview of our new mapping system
3DX

3D Vector Maps: An overview of our new mapping system

If you have been following us lately, or have bought our flagship portable offroad GPS unit - the 3DX, you would know that our in-house developed 3D Vector Maps.
VMS 3DX portable offroad GPS
3DX

3DX guiding us through Thomson Dam

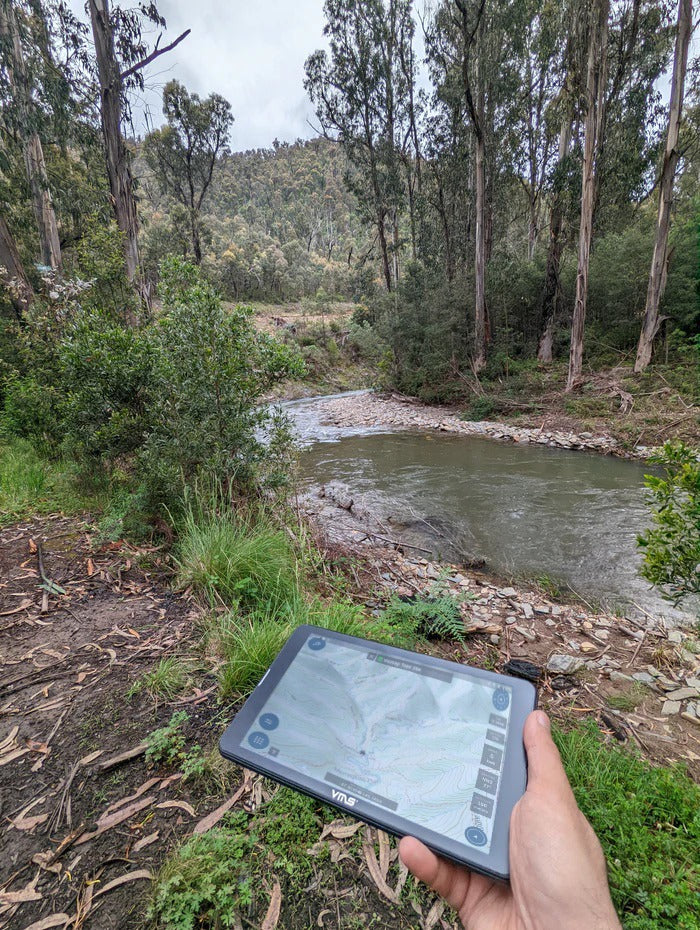
My first ever creek crossing experience during one of 4wd missions at Donnellys creek, Junction track & Sullivan track at Thomson Dam, Victoria, Australia.
Top 10 things to do with your 3DX
3DX

Top 10 things to do when you first get your 3DX

Just got your your new VMS 3DX, here are top 10 things that you should do to make sure you unlock the full potential of the device.